A Step-by-Step Guide to Installing a Drip Irrigation System
Tolu Adebola
Nowadays, farmers are well aware of the importance of having an irrigation system on their farms. They understand that unpredictable weather patterns and the looming threat of climate change can wreak havoc on their crops.
That’s why investing in an irrigation system is crucial for mitigating these risks. Among the various options available, most farmers recognize that drip irrigation is the best choice due to its minimal risk to the farm.
However, here lies the challenge: many farmers lack the knowledge and expertise required to properly install a drip irrigation system.
Let me tell you, the impact of installing this system correctly on your farm can be substantial. It can significantly enhance your overall productivity, increase your income, and boost your yield. Therefore, it’s crucial to get it right.
In this article, I will guide you through a step-by-step process for installing a drip irrigation system.
But before we dive into the installation process, let’s first discuss the essential components you’ll need. Understanding these key elements is fundamental to ensuring a successful installation and reaping the benefits of this irrigation system.
By the end of this article, you’ll have a clear understanding of the necessary materials and tools needed, allowing you to proceed confidently with the installation process. So, if you’re ready to take your farming to the next level with a reliable drip irrigation system, let’s get started on this informative journey.
Essential Tools Required for Installing a Drip Irrigation System on Your Farm
Alright, let’s dive deeper into the essential tools you’ll need for a successful drip irrigation installation. These tools are the backbone of the process and will make your life a whole lot easier. So, grab a cup of coffee, and let’s explore them:
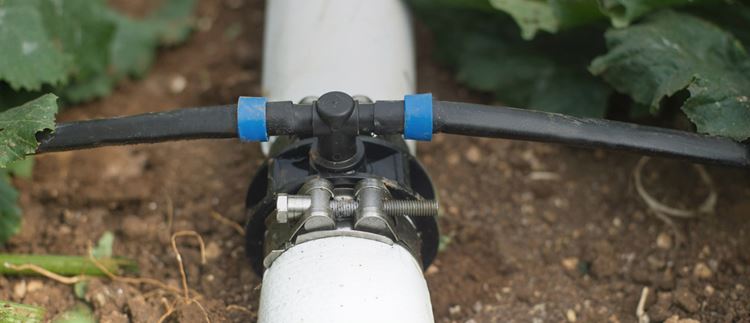
1. Connectors and Fittings
You’ll need a range of connectors and fittings to easily assemble and secure the components of your drip irrigation system. These include elbows, tees, joiners, couplings, and end caps. Make sure to choose durable and compatible connectors and fittings that match the type and size of your pipes.
2. Layflat hose
Layflat hose is a lightweight, flexible, corrosion-resistant, and anti-aging option for irrigation systems. It replaces pipes and transfers water between the water source and irrigation lines. There are two types: heavy duty and medium duty, designed for different levels of use.
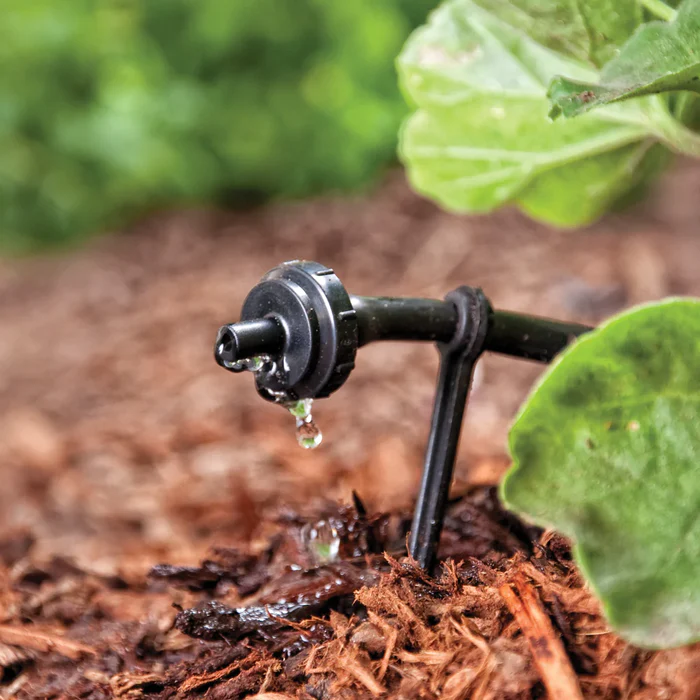
3. Drip Emitters
Drip emitters are compact devices designed to deliver water directly to the roots of plants. They come in different types, such as drippers, micro-sprinklers, or micro-sprayers, allowing you to choose the most suitable option based on your specific irrigation needs and the types of plants in your garden or landscape.
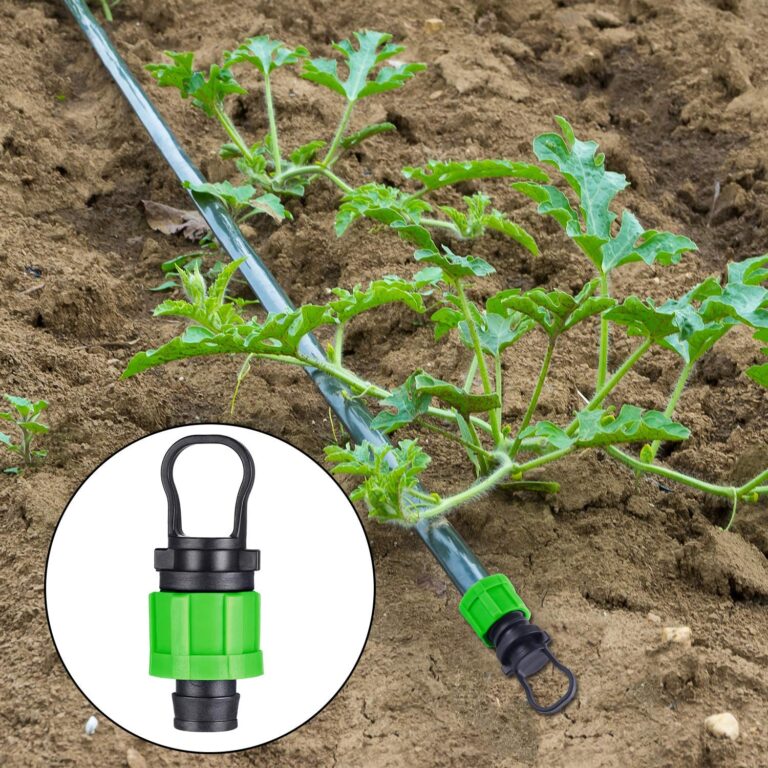
4. End Caps/Plugs
These are used to seal the ends of the distribution tubing or to cap off unused outlets.
In addition to the drip emitters, several other materials are necessary for the establishment of an effective drip irrigation system. These materials include essential tools like the Pressure Regulator, Filter, Backflow Preventer, Main Supply Line, Distribution Tubing, Punch Tool, and Timer/Controller. Each of these components plays a vital role in ensuring the efficiency and proper functioning of your drip irrigation system.
A Step-by-Step Guide to Installing a Drip Irrigation System
Now that you’re familiar with the essential tools needed for a successful drip irrigation system on your farm, let’s explore how to incorporate them into your irrigation setup. By following these steps, you’ll be on your way to establishing an efficient and effective drip irrigation system:
Step 1: Plan and Design:
Assess your farm’s layout, taking into account the location of crops and water sources.
Determine the length and layout of the main water line and the placement of drip lines and emitters.
Calculate the water flow rate and pressure requirements for your specific setup.
Step 2: Gather the Tools and Materials:
Ensure you have all the necessary tools mentioned earlier: shovel, pipe cutter, hole punch, pressure regulator, filtration system, connectors and fittings, measuring tape, and Teflon tape.
Acquire the required materials, including pipes, drip lines, emitters, connectors, and any additional components based on your design.
Step 3: Prepare the Area:
Clear the area where the irrigation system will be installed, removing any obstacles or debris.
Use the shovel to dig trenches for the main water line and bury the drip lines.
Step 4: Install the Main Water Line:
Cut the main water line to the desired length using the pipe cutter.
Connect the main water line to the water source using appropriate fittings and secure them tightly with Teflon tape.
Lay the main water line in the prepared trenches, ensuring it is properly aligned.
Step 5: Install the Drip Lines and Emitters:
Cut the drip lines to the required lengths, using the pipe cutter.
Use the hole punch to create small holes in the drip lines at appropriate intervals.
Connect the drip lines to the main water line using connectors and fittings, securing them tightly.
Step 6: Install the Pressure Regulator and Filtration System:
Install the pressure regulator to maintain consistent water pressure throughout the system.
Attach the filtration system, such as screen or disk filters, to prevent clogging of the drip lines.
Ensure all connections are sealed properly to prevent leaks.
Step 7: Test and Adjust:
Turn on the water supply and check for any leaks or irregular water flow.
Adjust the pressure regulator to achieve the desired water pressure.
Monitor the system to ensure uniform water distribution through the emitters.
Step 8: Fine-tune the System:
Make any necessary adjustments to the placement of emitters and drip lines for optimal coverage.
Consider installing a timer or irrigation controller to automate the watering schedule for consistent and efficient water management.
Step 9: Regular Maintenance:
Inspect the system regularly for any damage, leaks, or clogging.
Clean or replace filters as needed to maintain proper water flow.
Make any necessary repairs or adjustments to ensure the system functions optimally.
This step-by-step guide will help you successfully install a drip irrigation system on your farm. Tailor the design and installation process to suit your crops’ needs, water availability, and farm layout for optimal results.